Getting the Heat Right: The Truth About IR Paint Booth Walls
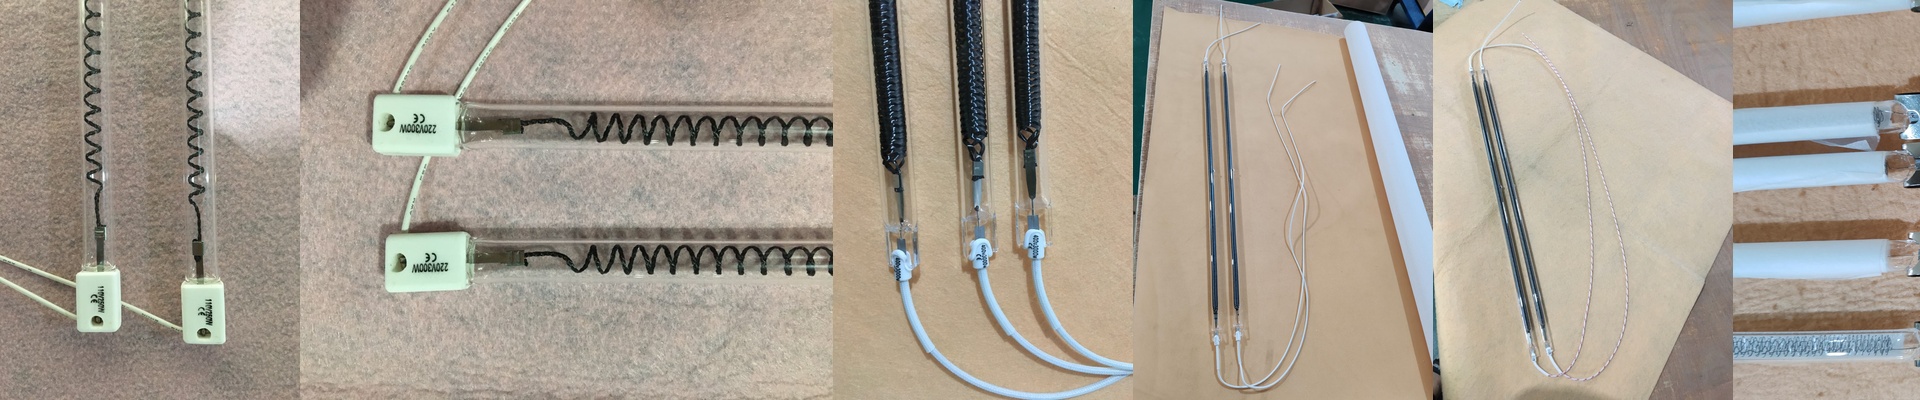
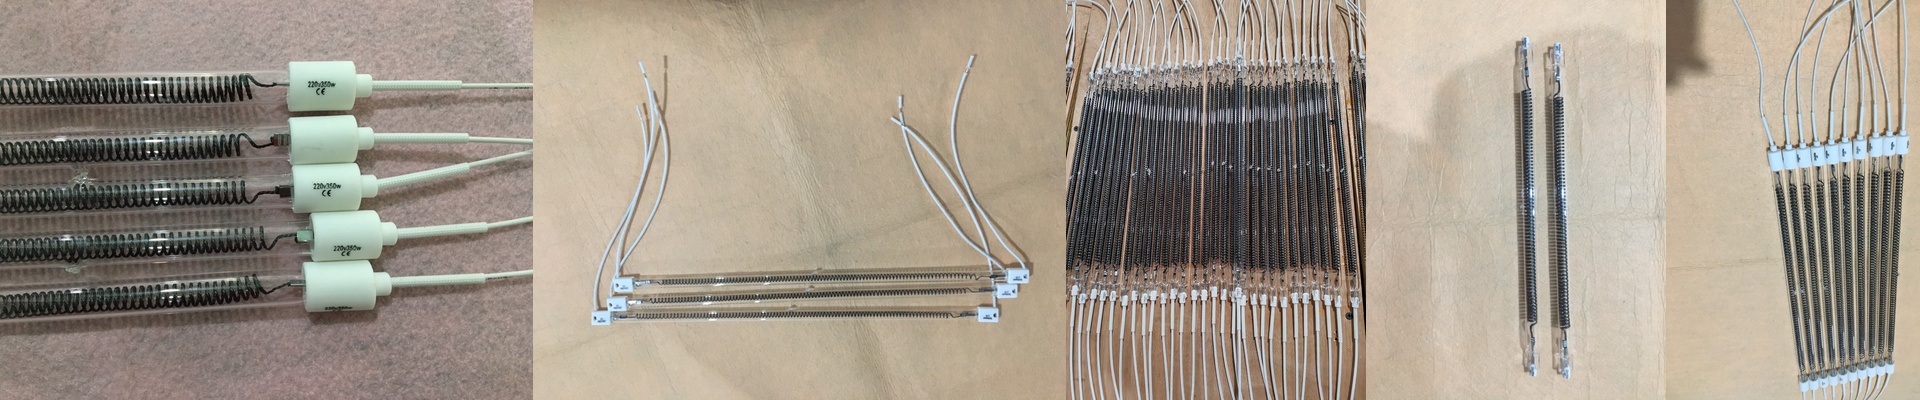
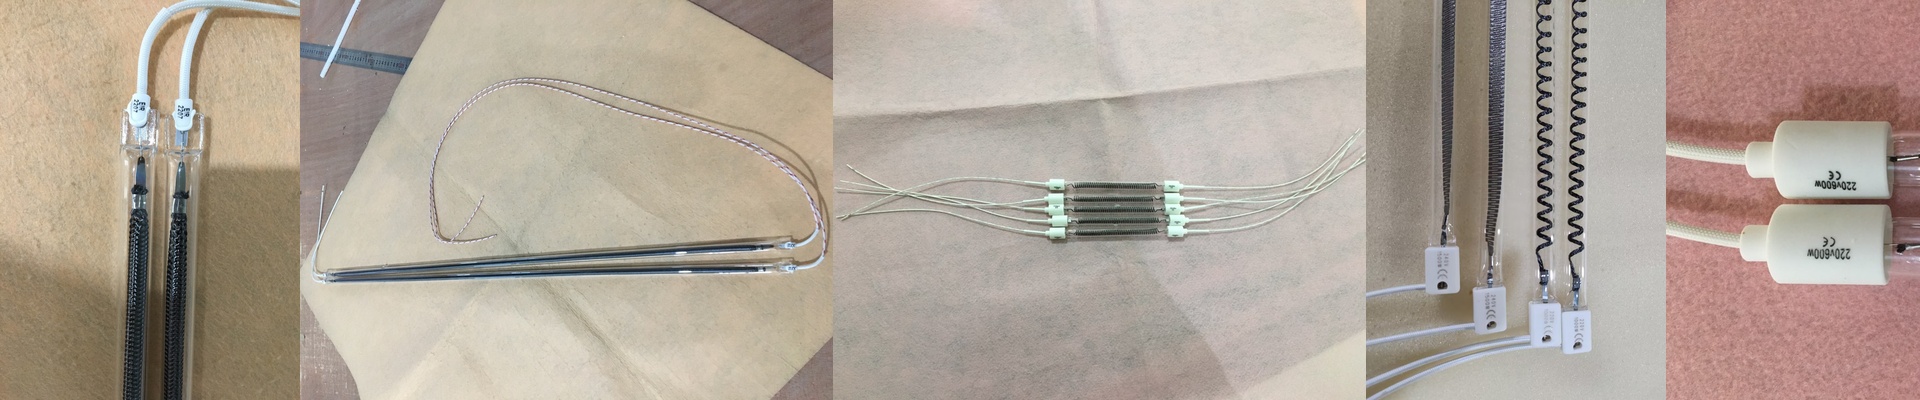
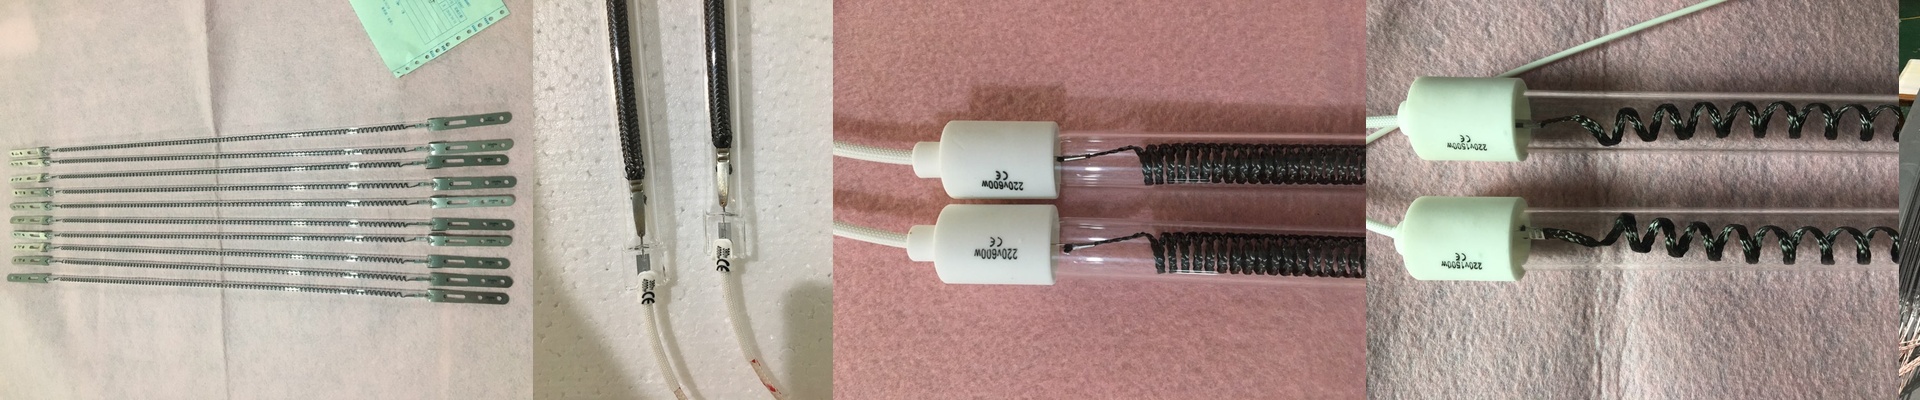
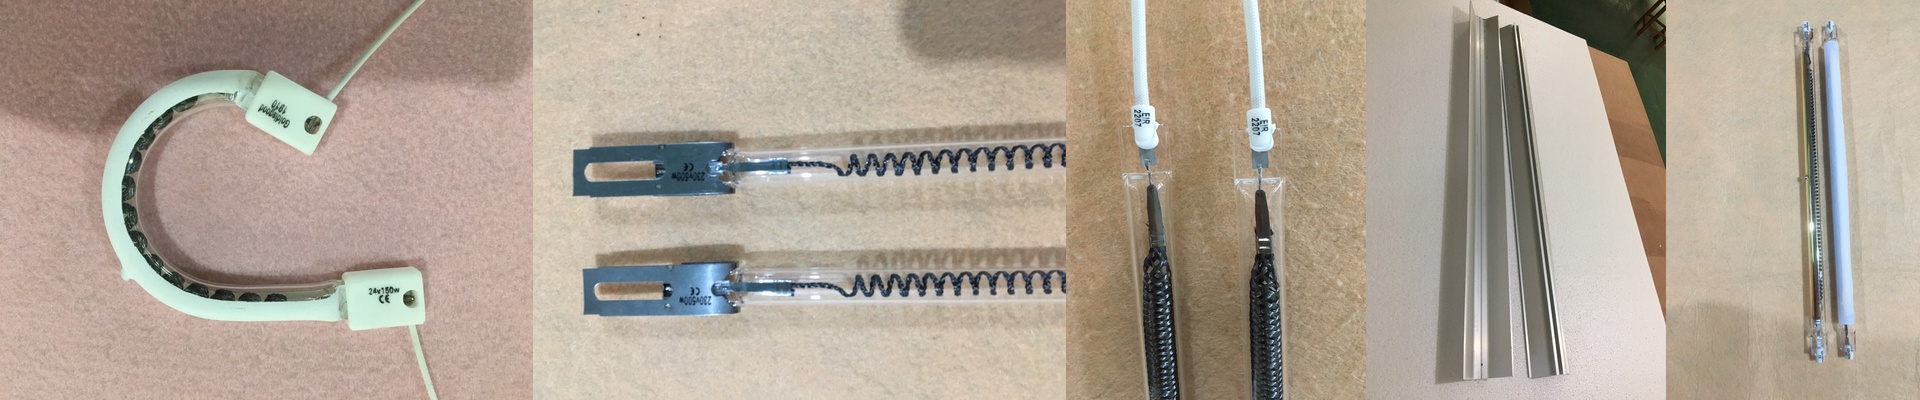
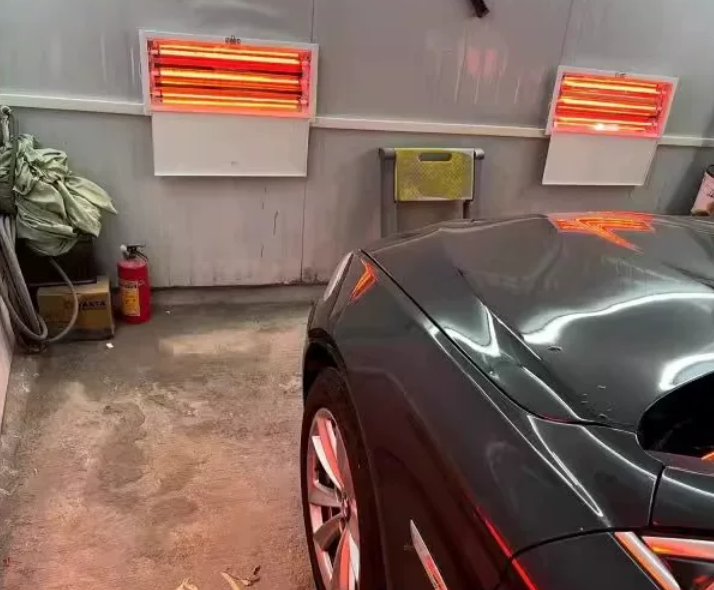
When you’re building a custom heating wall for a paint booth, you’re chasing one thing: a perfectly even temperature across the whole car. If your infrared lamps are just thrown in there without a plan, you’re going to have problems. You’ll end up with scorching hot fenders and freezing cold sills. That’s how you get uneven curing and those annoying paint defects that force you to do the whole job over again. It’s all about the footprint. We don’t just stick lamps in a generic grid and hope for the best. That doesn’t work. A tiny coupe doesn’t need the same heat as a high-roof van. Instead, we look at the actual shape of the vehicle. We tweak the vertical spacing of the IR tubes to match the car’s geometry. For the middle section—where there’s the most metal—we pack the lamps in tighter. Down low, we crank up the intensity because the floor just sucks the heat right out of the air. We figure out the wattage based on how thick the panels actually are. The “Zebra” Problem Here’s the thing about distance. The gap between your wall and the car decides how those IR cones overlap. If the lamps are too far apart, you get “zebra striping.” You’ll literally see bands of uncured paint. To stop that, we tighten the vertical spacing so the heat cones crash into each other before they even touch the car. We usually go with shortwave IR. It hits the paint and penetrates deep, fast. But be careful. High-density shortwave arrays put off a massive amount of ambient heat. If your ventilation isn’t strong enough to pull that hot air out, you’ll end up warping the booth’s own frame. Making it easy to live with We use modular mounting brackets. Why? Because your production mix changes. One day it’s sedans, the next it’s SUVs. With these brackets, you just slide the lamps up or down to fit the job. And please, use high-temp wiring. Cheap connectors will fry the moment the metal starts expanding from the heat. We also build these with slide-out trays. Because let’s be honest—tubes eventually pop. When one goes, you don’t want a teardown project. You want a two-minute swap so you can get back to work.