Getting Heat Distribution Right When Your Parts Keep Changing
When we’re building custom heating walls—whether it’s for curing brake pad resin or setting up a paint booth—the real headache isn’t getting the heat out. It’s getting it to land in the right spots. You can’t just throw a grid of lamps on a wall and call it a day. If you do, you’ll end up with “cold spots.” And in this business, a cold spot means under-cured resin or a paint finish that looks blotchy. Not great.
Matching the Heat to the Shape
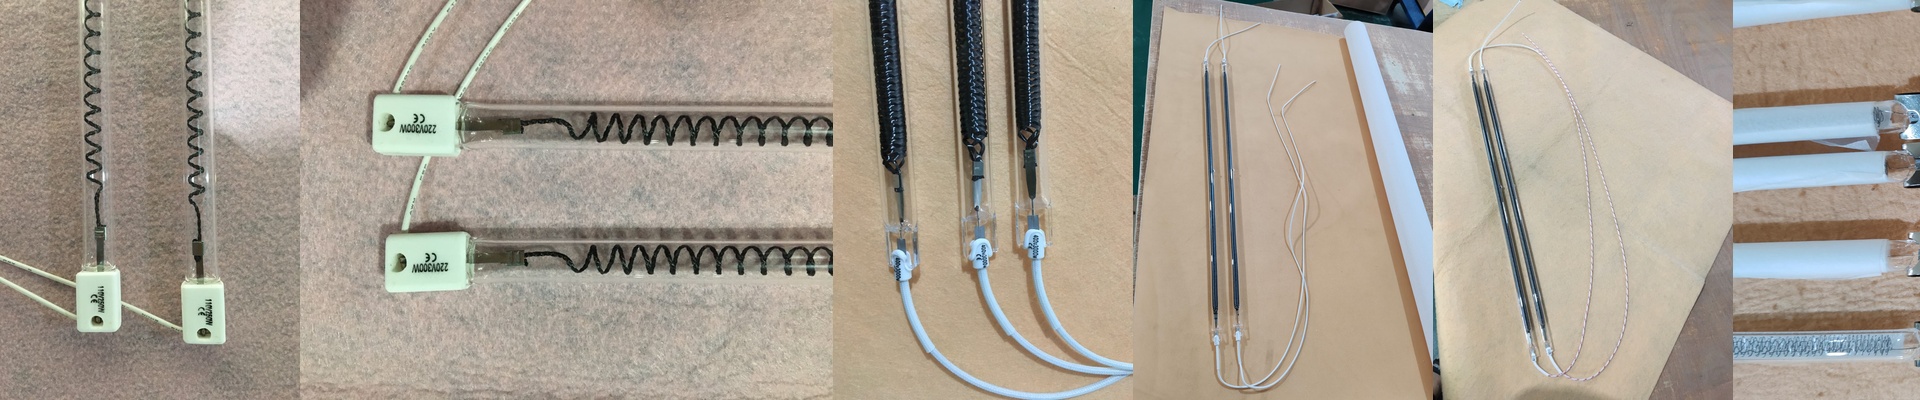
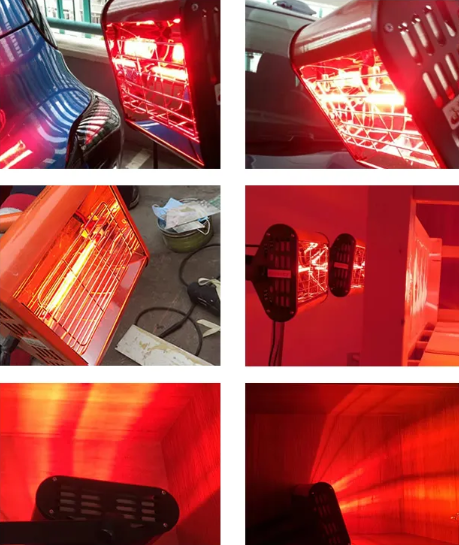
We spend a lot of time looking at how the lamps actually “see” the part. For those big vehicle footprints, we jam more lamps into the lower and middle zones. That’s where most of the mass is, after all. Now, shortwave IR lamps are great because they dig deep into the resin, but the intensity drops off the moment you move a few inches away. Here’s the problem: a fixed grid is useless if you’re switching between a tiny compact car and a massive SUV. To fix that, we zone the wall. We wire the top, middle, and bottom banks to their own controllers. That way, if you’re working on a low-profile part, you just kill the power to the top lamps. It stops the parts from scorching while the bottom zones keep humming along at the perfect curing temp.
The Electrical Struggle
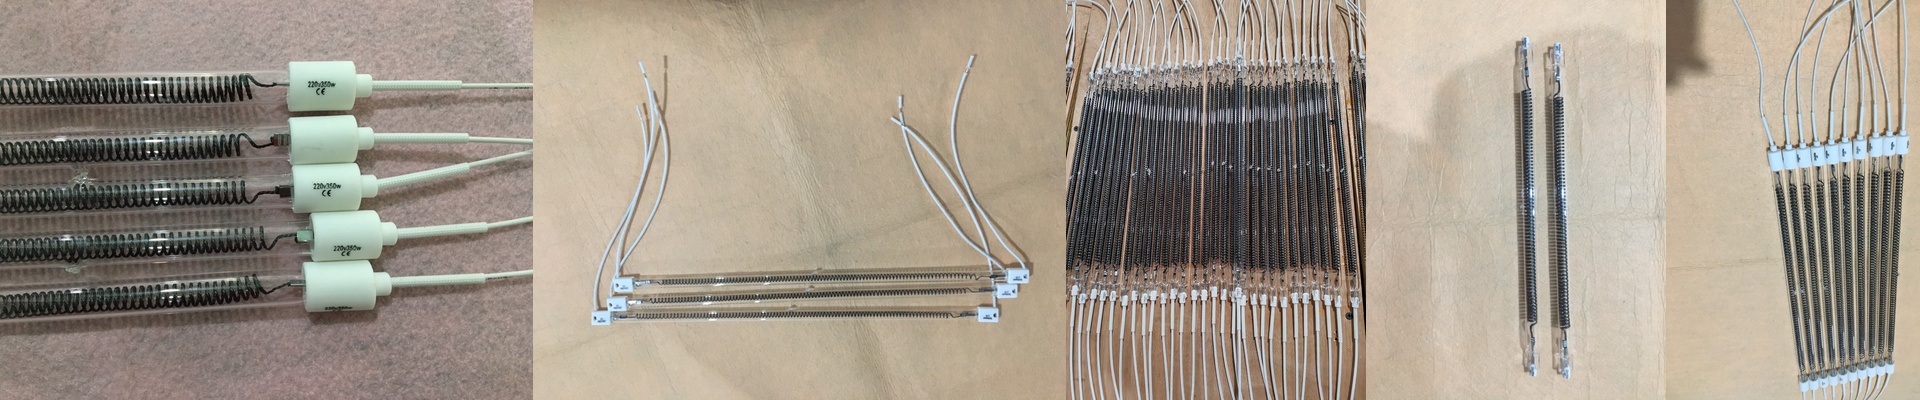
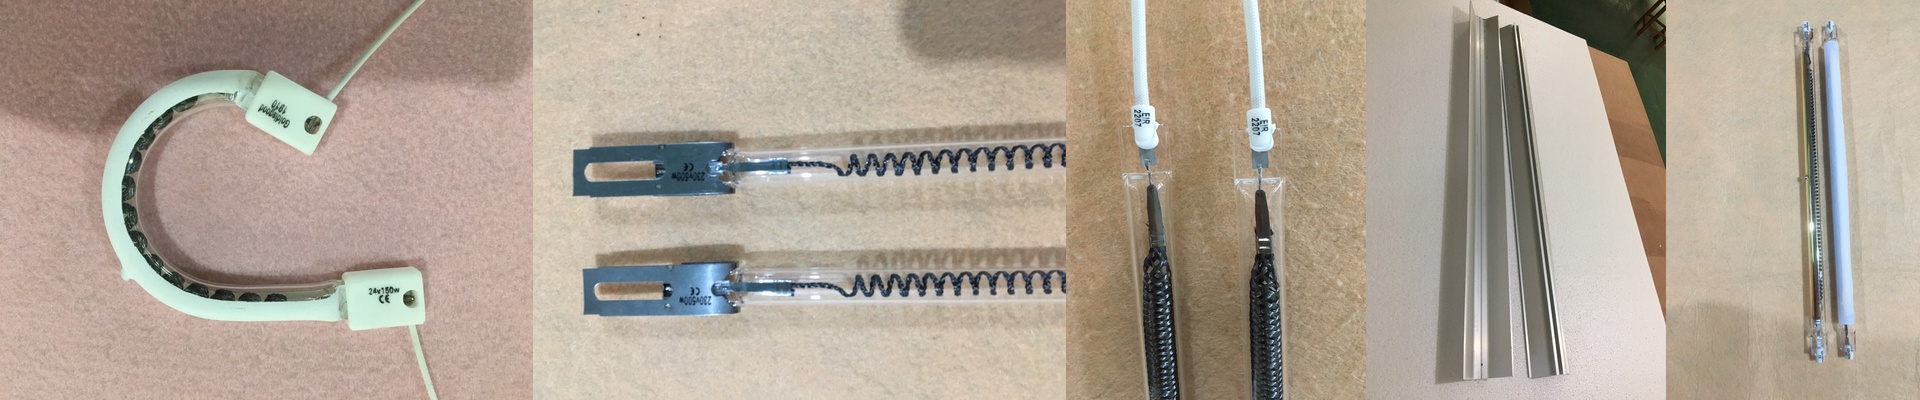
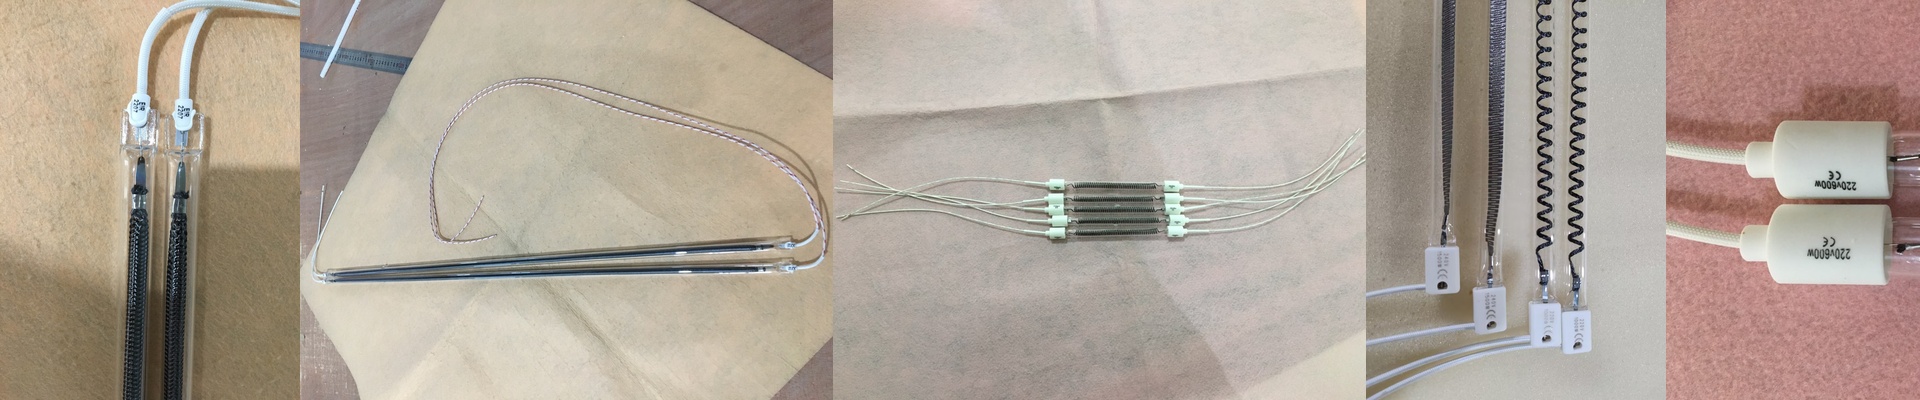
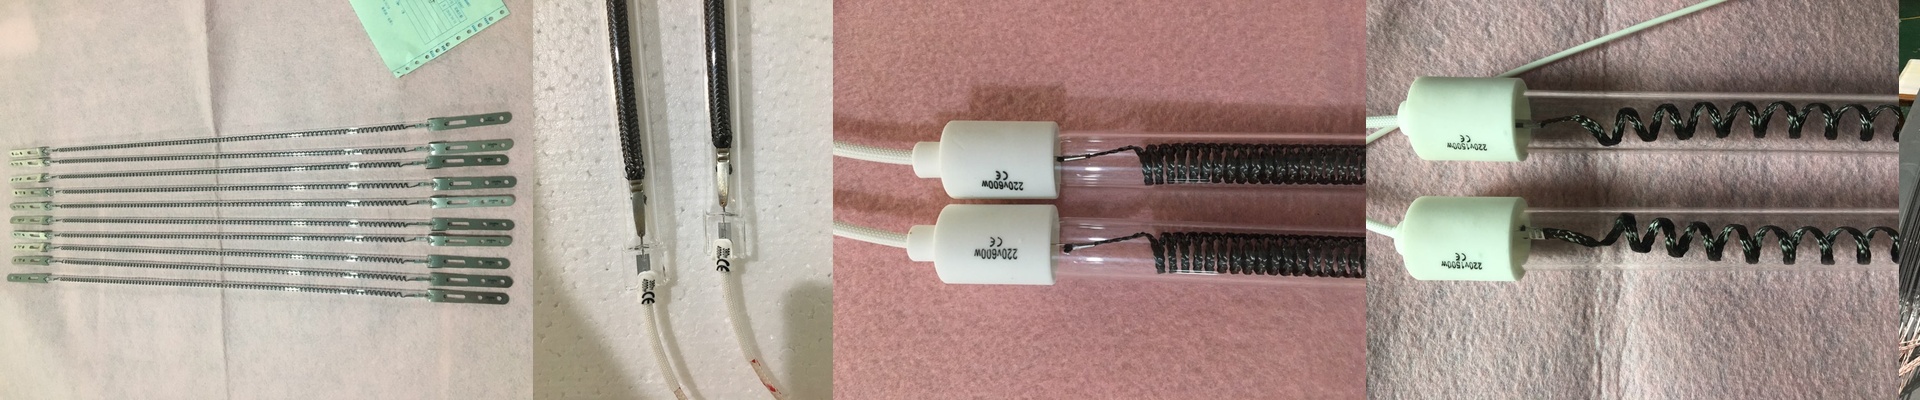
It’s tempting to pack the lamps tight to get that heat density up, but your electrical panel will hate you for it. We usually go with high-wattage quartz tubes to keep the overall footprint small. But there’s a catch. If you crowd them too much, the wall itself starts to soak up all that heat. It gets dangerously hot. To stop the backing from warping, we use heavy-duty aluminum reflectors. They push the radiation forward toward the part and keep the wall from baking itself.
Precision vs. Flexibility
If you only ever make one specific part, a tightly optimized, fixed wall is the way to go. It’s fast. Really fast. But if you’ve got five different car models rolling through, you have to give a little. You sacrifice a bit of that raw speed for a setup that handles everything. You might see your cure time creep up by 5% or 10%, but it’s worth it to know the edges of your biggest parts are actually hitting the temperature they need.